No-Churn Strawberry Colada Ice cream


I scream, you scream, we all scream ice cream :D. Meeehn its been long, almost two whole freaking years after the last post. The question you may be asking is WHY? Well a lot......plus laziness, hihi.
Whats important now is we are back and we decided to come with something very yummy that everyone (is there anyone who doesn't like ice cream?). It's 4:50am in the morning, I am baking, tired and really don't have much to say, I mean why would I wanna waste time yapping, I think I already am. Here we go peeps the recipe....

Muddy Chocolate Crinkle Cupcakes

OMG melted chocolate... sooo sinful
Hello people, Hulk the baker is back and guess who is also in the haus.... Miss exotic blogger. So you might be wondering why that name for a cupcake. You see chocolate is one of the best things you can think of when it comes to food and you just cannot have too much of it. Now chocolate can be presented in many different ways and today we chose to make it muddy. In my dictionary muddy means mooore chocolate.

That being said I have to warn you this chocolate cupcake is intense. Seriously no one person should be allowed to eat so much chocolate in one cupcake. I mean it felt like I was doing something very wrong by eating the cupcake and by the time i was done eating one that was is! I could fathom eating a second... Damn decadently decadent I even have a foodgasm dance just for when I eat this cupcake. Wanna see it? :P!

Words of Encouragement

Heyyyyy Food-Lovers
It's been a while! Hope you are all fine and tried new recipes. As for me, I have tried different dishes, cakes, cupcakes, smoothies..... And I eat them with so much excitement and joy! My mouth is still watery if I think of all that delicious meals.

But today I'm not coming with a new recipe for you. I'm coming with words of encouragements for all your cooking. Each one of you is blessed with the love for good food. You are able to taste awesome ingredients and bad once. Isn't that Awesomazing?! Seriously you have a talent. Its time for you to see that! Not everybody knows how to combine ingredients in such a way that some delicious food turns out of it!
Yes, you may have just started and you have to do plenty of research. But it shows that you have a passion! Keep that fire burning!!!!

Bliss: Red Velvet Cake!


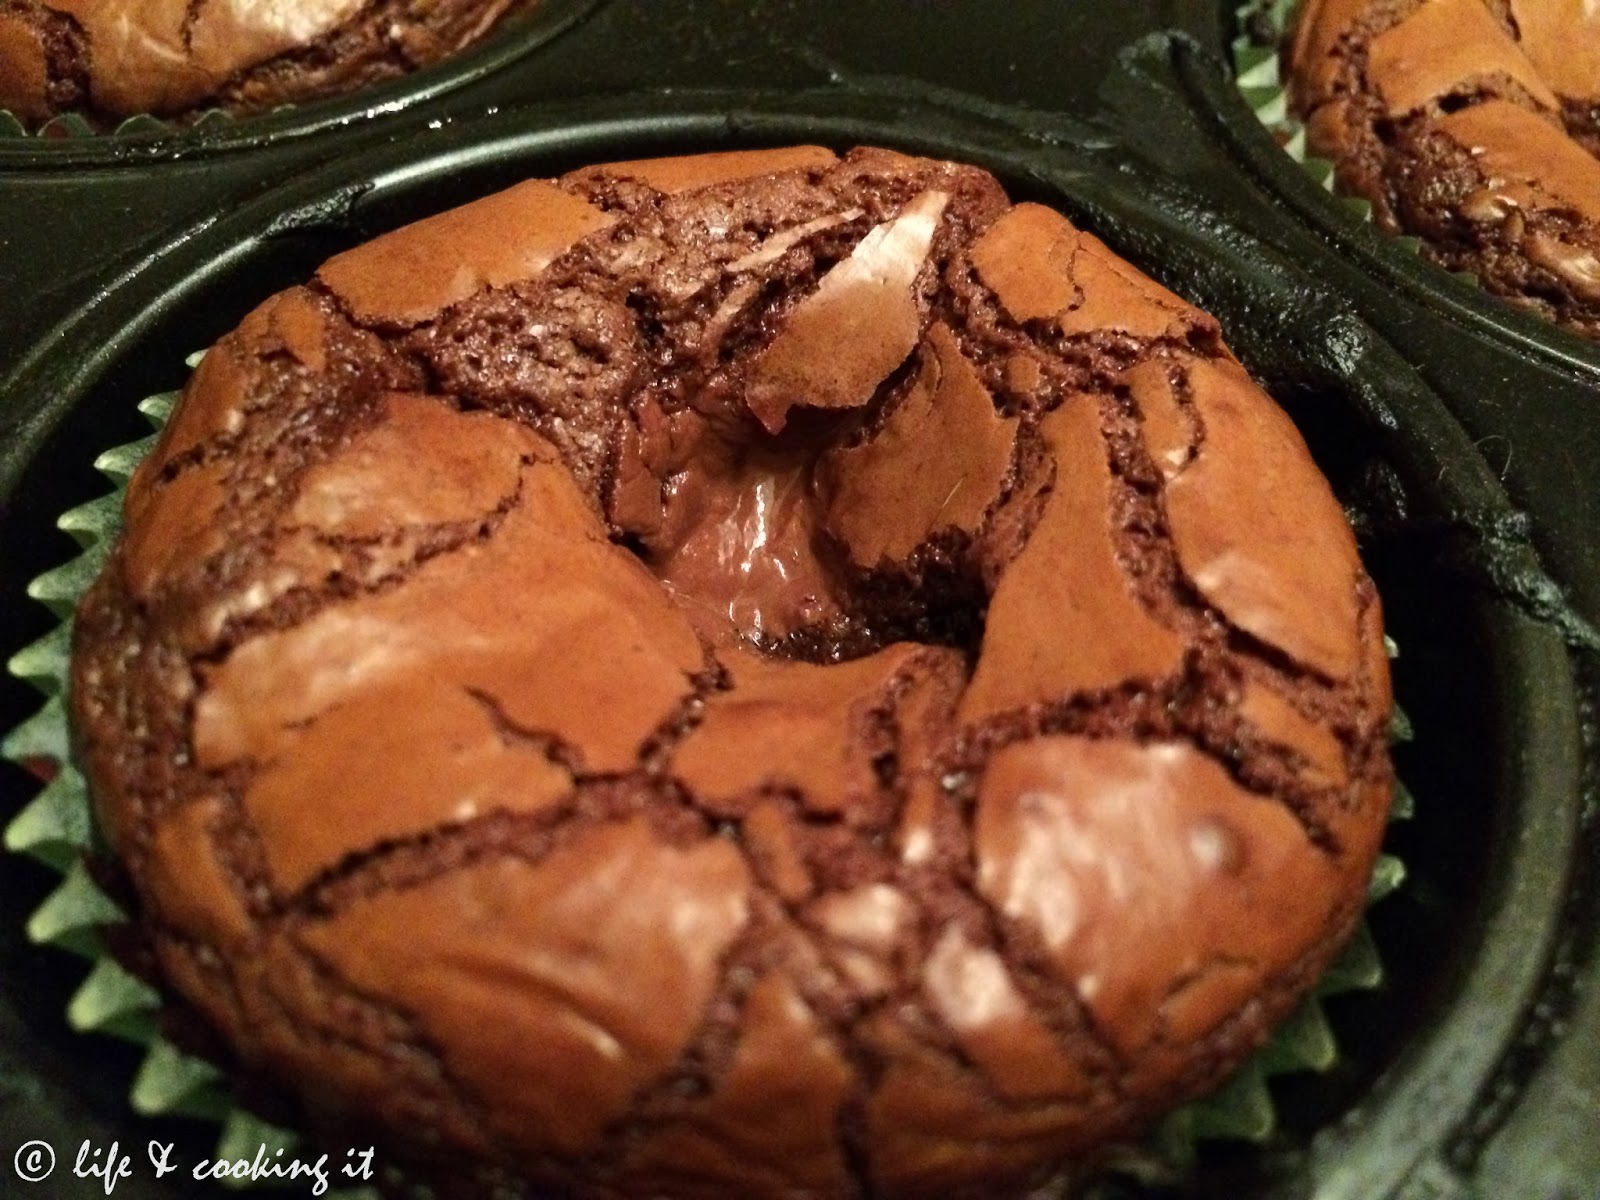
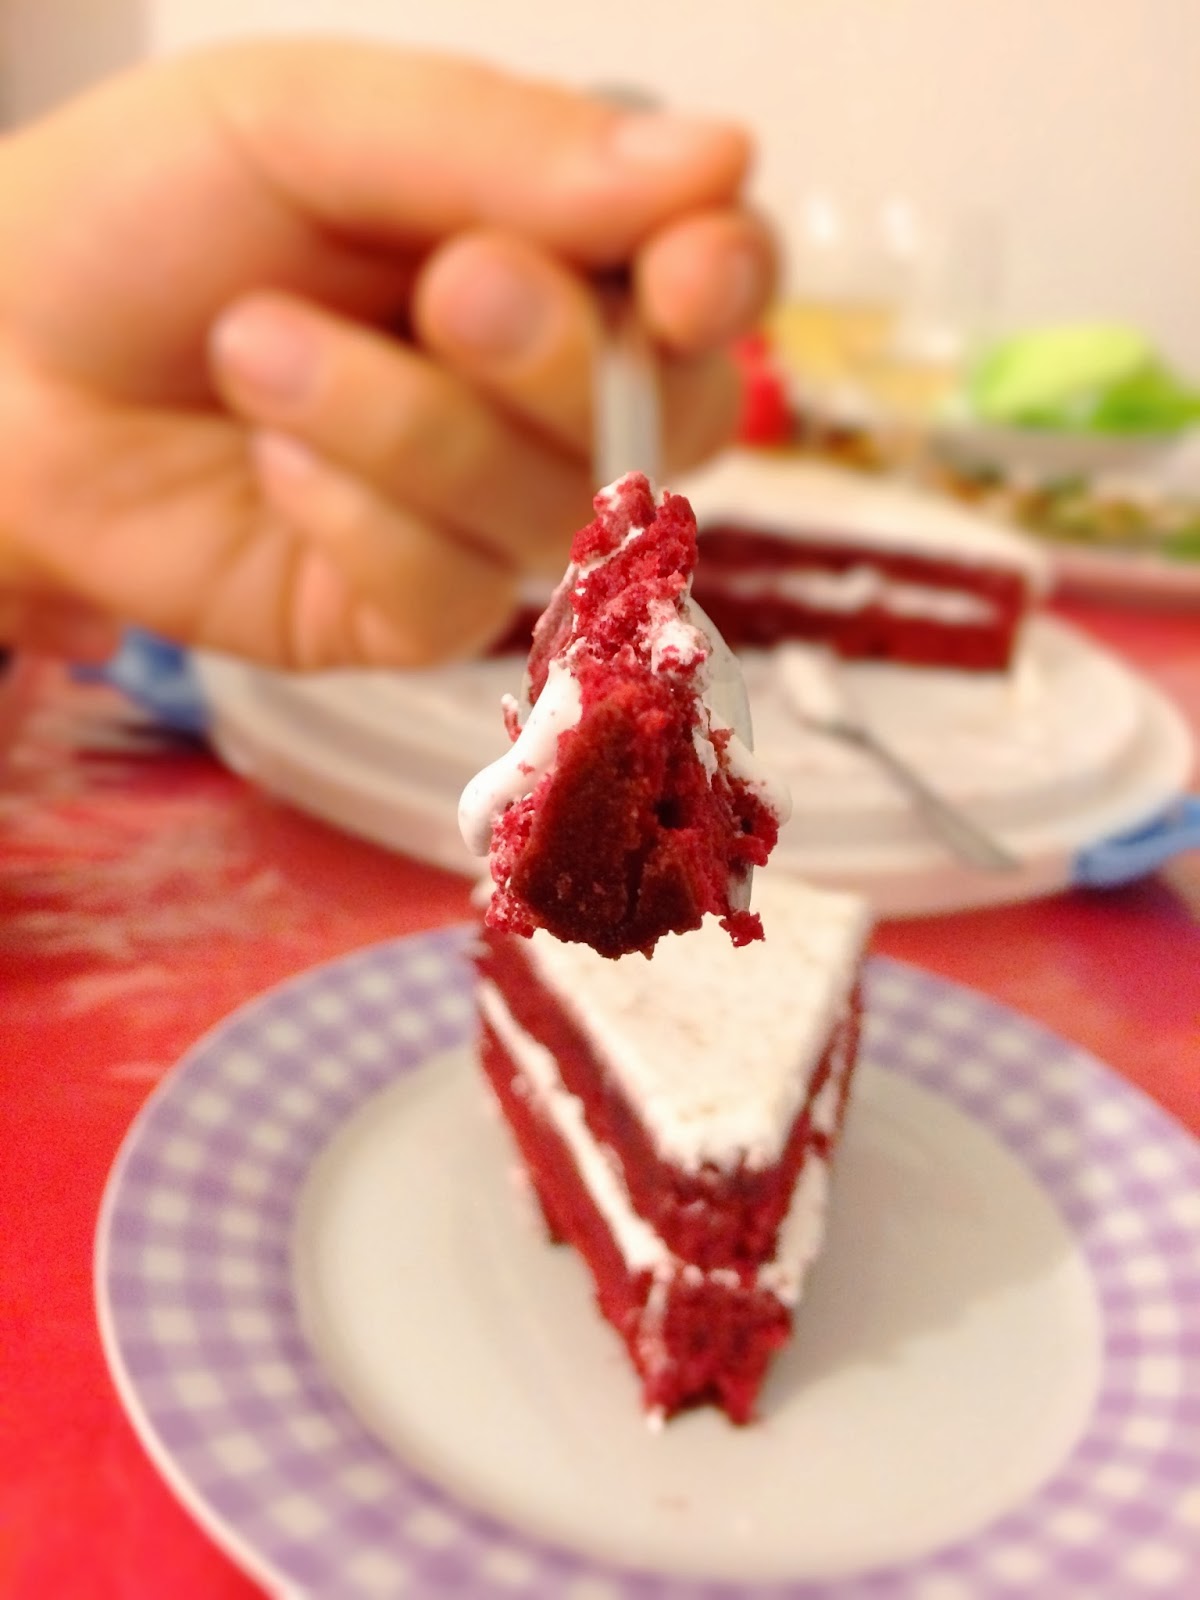
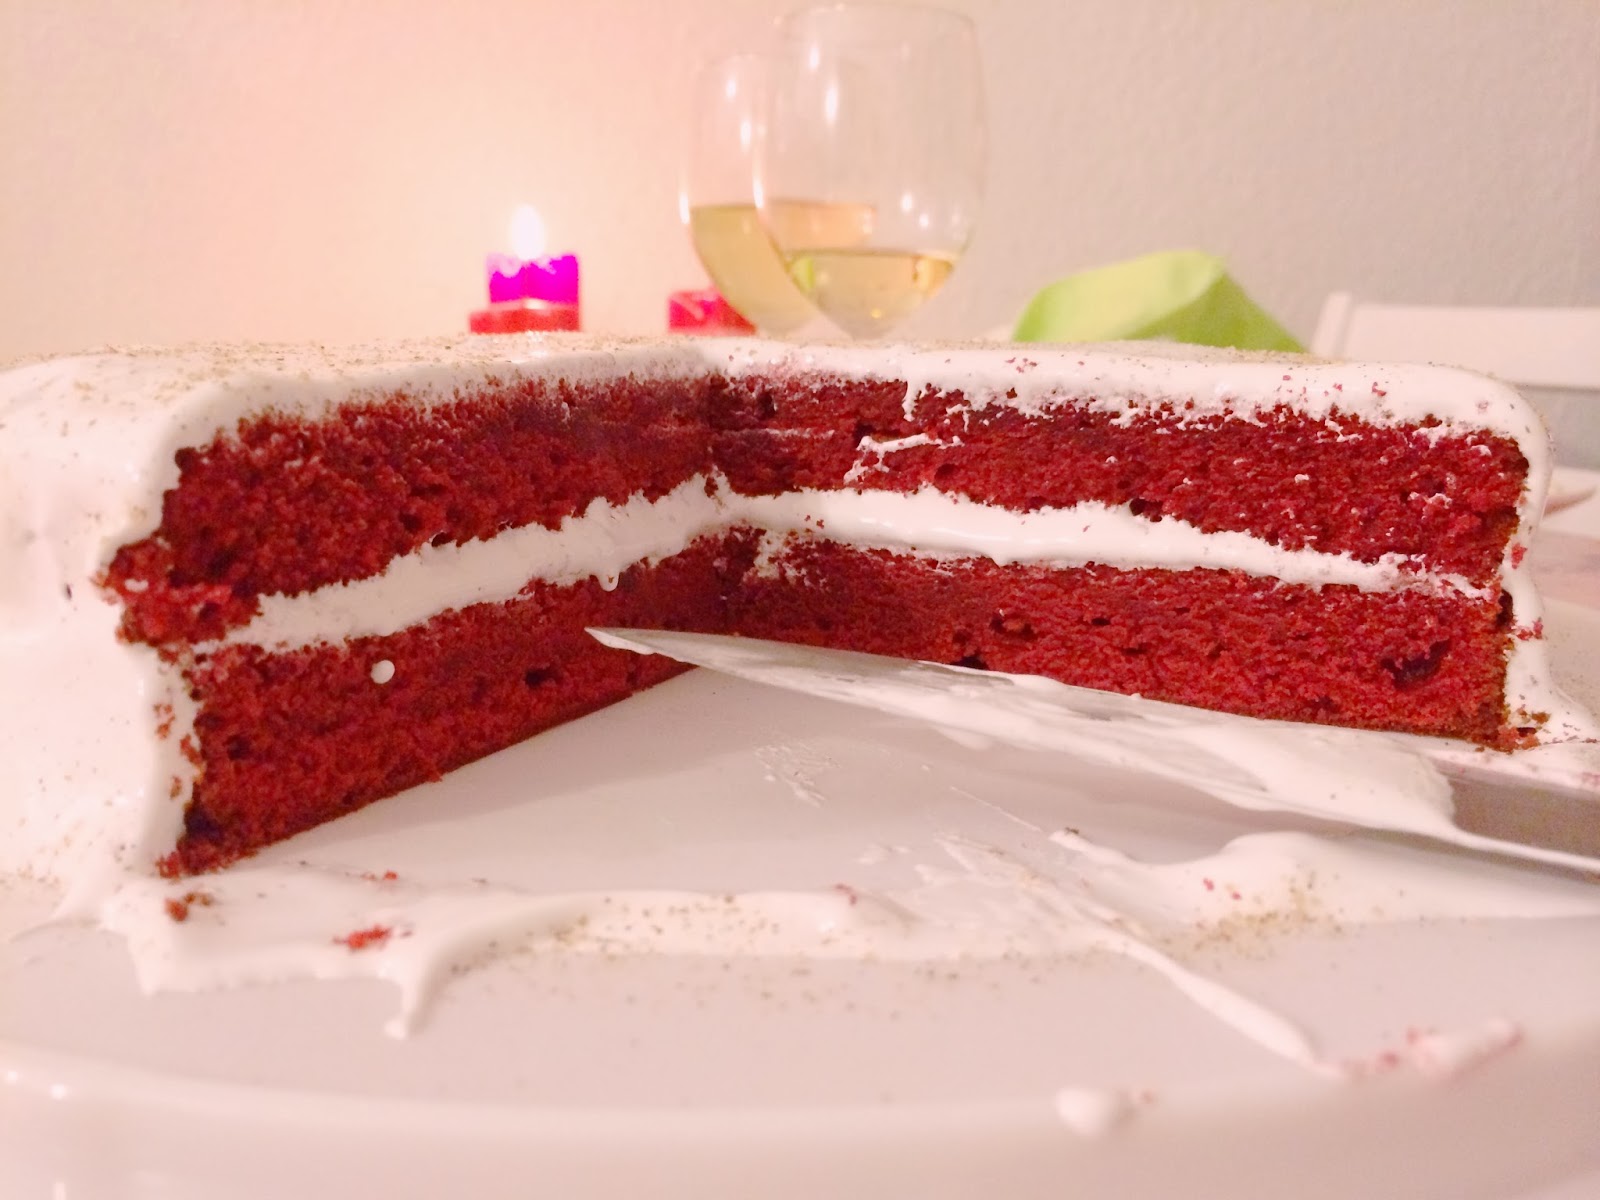
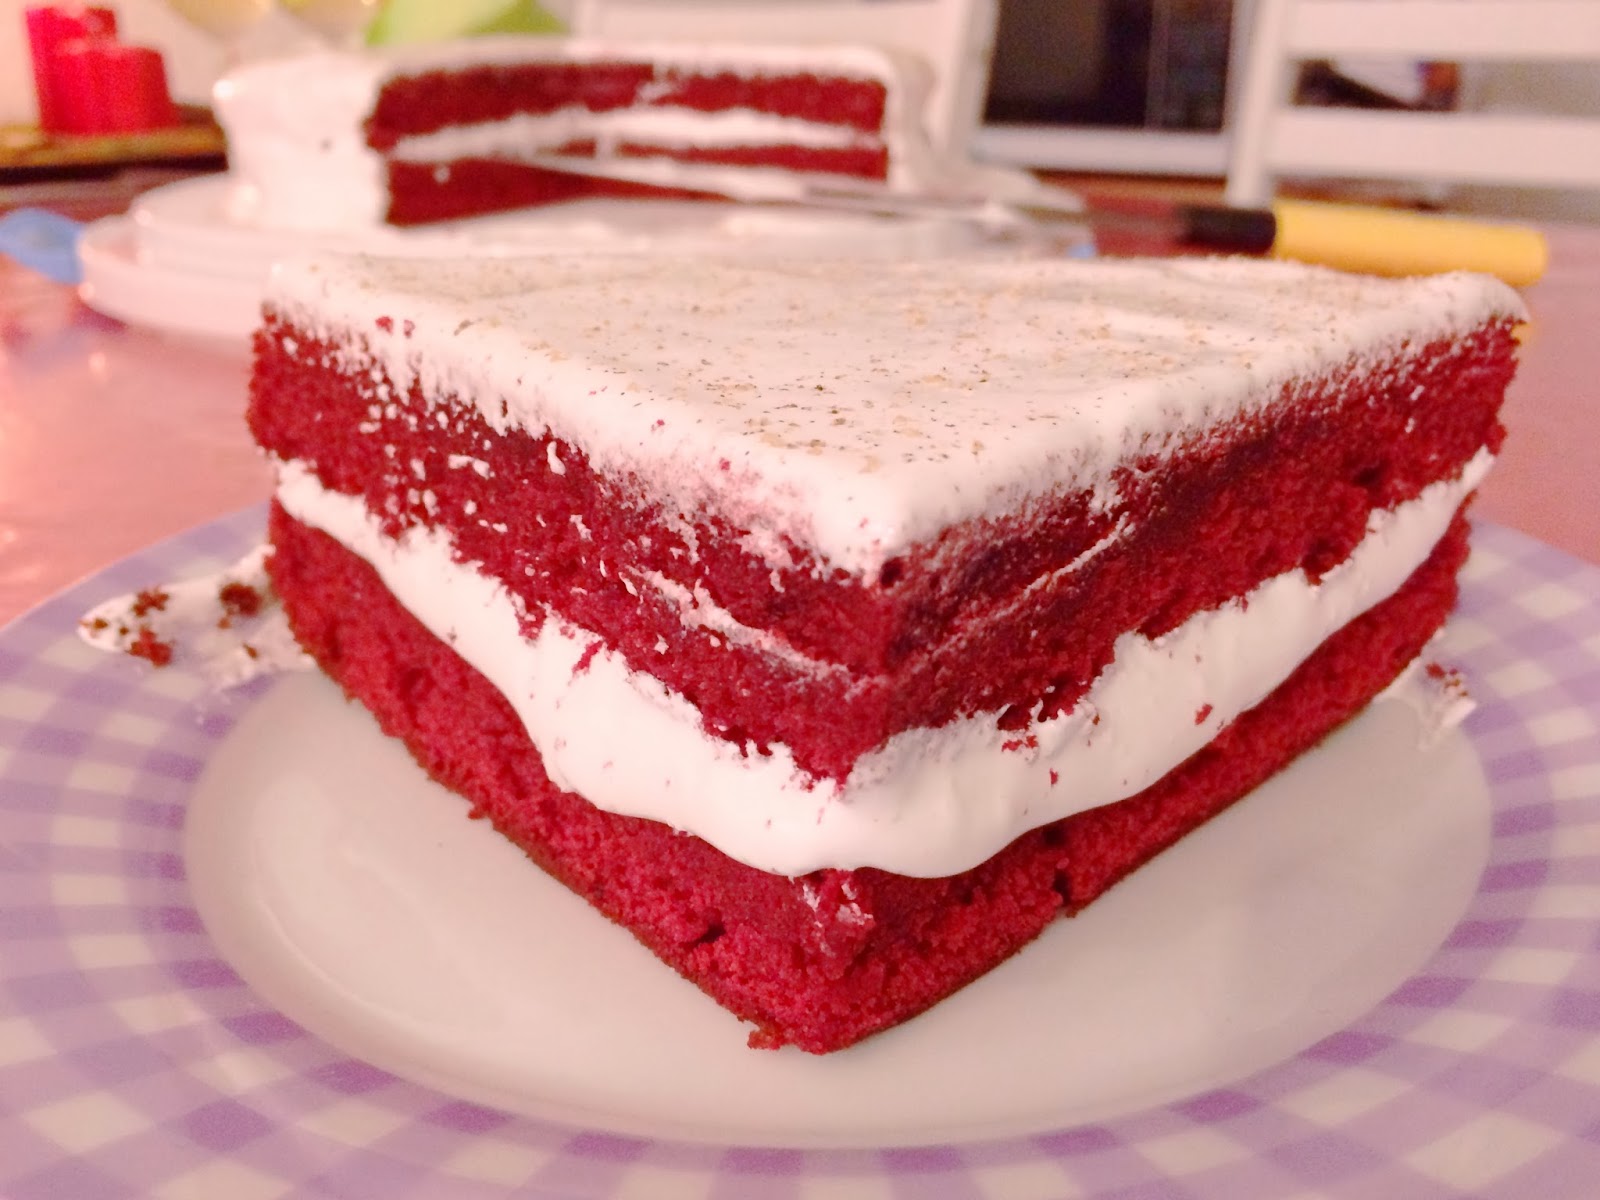
Happiness...in fact BLISS is eating Red Velvet Cake...moooiiiist RED velvet cake!


We are what we repeatedly do.

Excellence is then,
is not an act, but a habit - Aristotle


Home is where Red Velvet cake is.


In other words don't be afraid of giving this awesome cake a try. Be bold and make it at HOME. Be EXCELLENT in making it by doing it every day and lastly be HAPPY eating everyday after baking it. Oh yeah and part of you will bond with the cake, well at least your tongue, heart and tummy will ;). Trust me this is way better homemade because you WILL and MUST take your time and you will be rewarded with blissful perfection. Enjoy!


Ingredients:

- 2 1/2 cups cake flour (not self-rising), sifted, plus more for pans
- 1/4 cup unsweetened cocoa powder
- 1 1/2 teaspoons baking powder
- 3/4 cup unsalted butter, room temperature, plus more for pans
- 2 cups sugar
- 3 large eggs
- 1 teaspoon pure vanilla extract
- 1/4 teaspoon salt
- 1 40ml bottle liquid red food coloring (I sometimes use one and a half; 60ml)
- 3 tablespoons lukewarm water
- 1 cup buttermilk (I used plain natural unsweetened yoghurt once and meeehn it was moist, try it)
- 1 teaspoon baking soda
- 1 tablespoon white vinegar


Notes: 

* Cake flour can be made easily at home all you need is all-purpose-flour, cornstarch/cornflour and a mesh sieve for sifting about 3 times. For every measuring cup (250ml = about 140g) of flour remove two tablespoon flour and replace with two tablespoon cornstarch (so in this case 5 tablespoons) and sift mixture to incorporate air. The more air in the flour the lighter your cake. So sift as many times as you like. I sifted mine 3 times. Or you could simply go to a shop and buy cake flour and sift it :).


** For buttermilk put one tablespoon white vinegar in a one cup measuring cup add milk till it's full. Let it stand for five minutes and it's ready to use


Directions:

Preheat oven to 350 degrees Fahrenheit or 175 degrees Celsius. Generously butter or use cooking spray to grease two 8 or 9 inch round cake tins. Line with parchment paper sand grease again and dust with flour. Set aside. If you don't have parchment paper you can generously dust with flour.


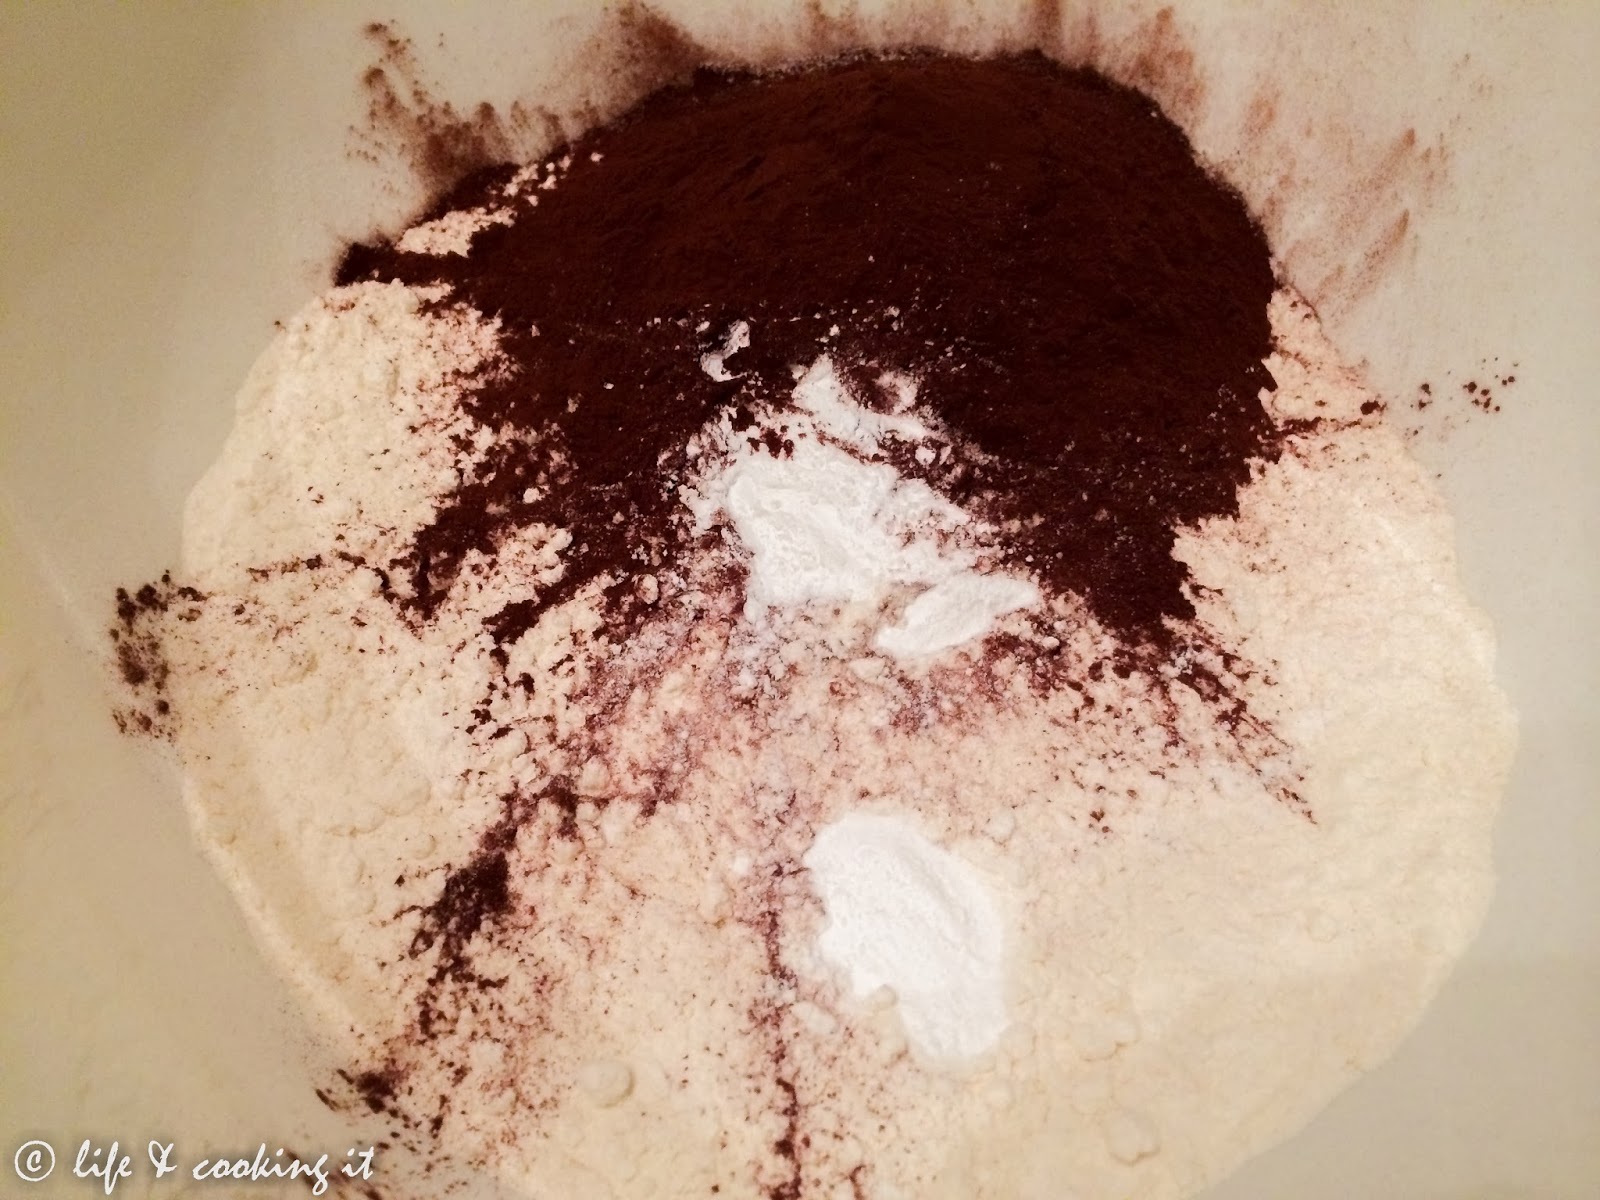
1) In a bowl sift in cake flour*, cocoa powder and baking powder. Set aside


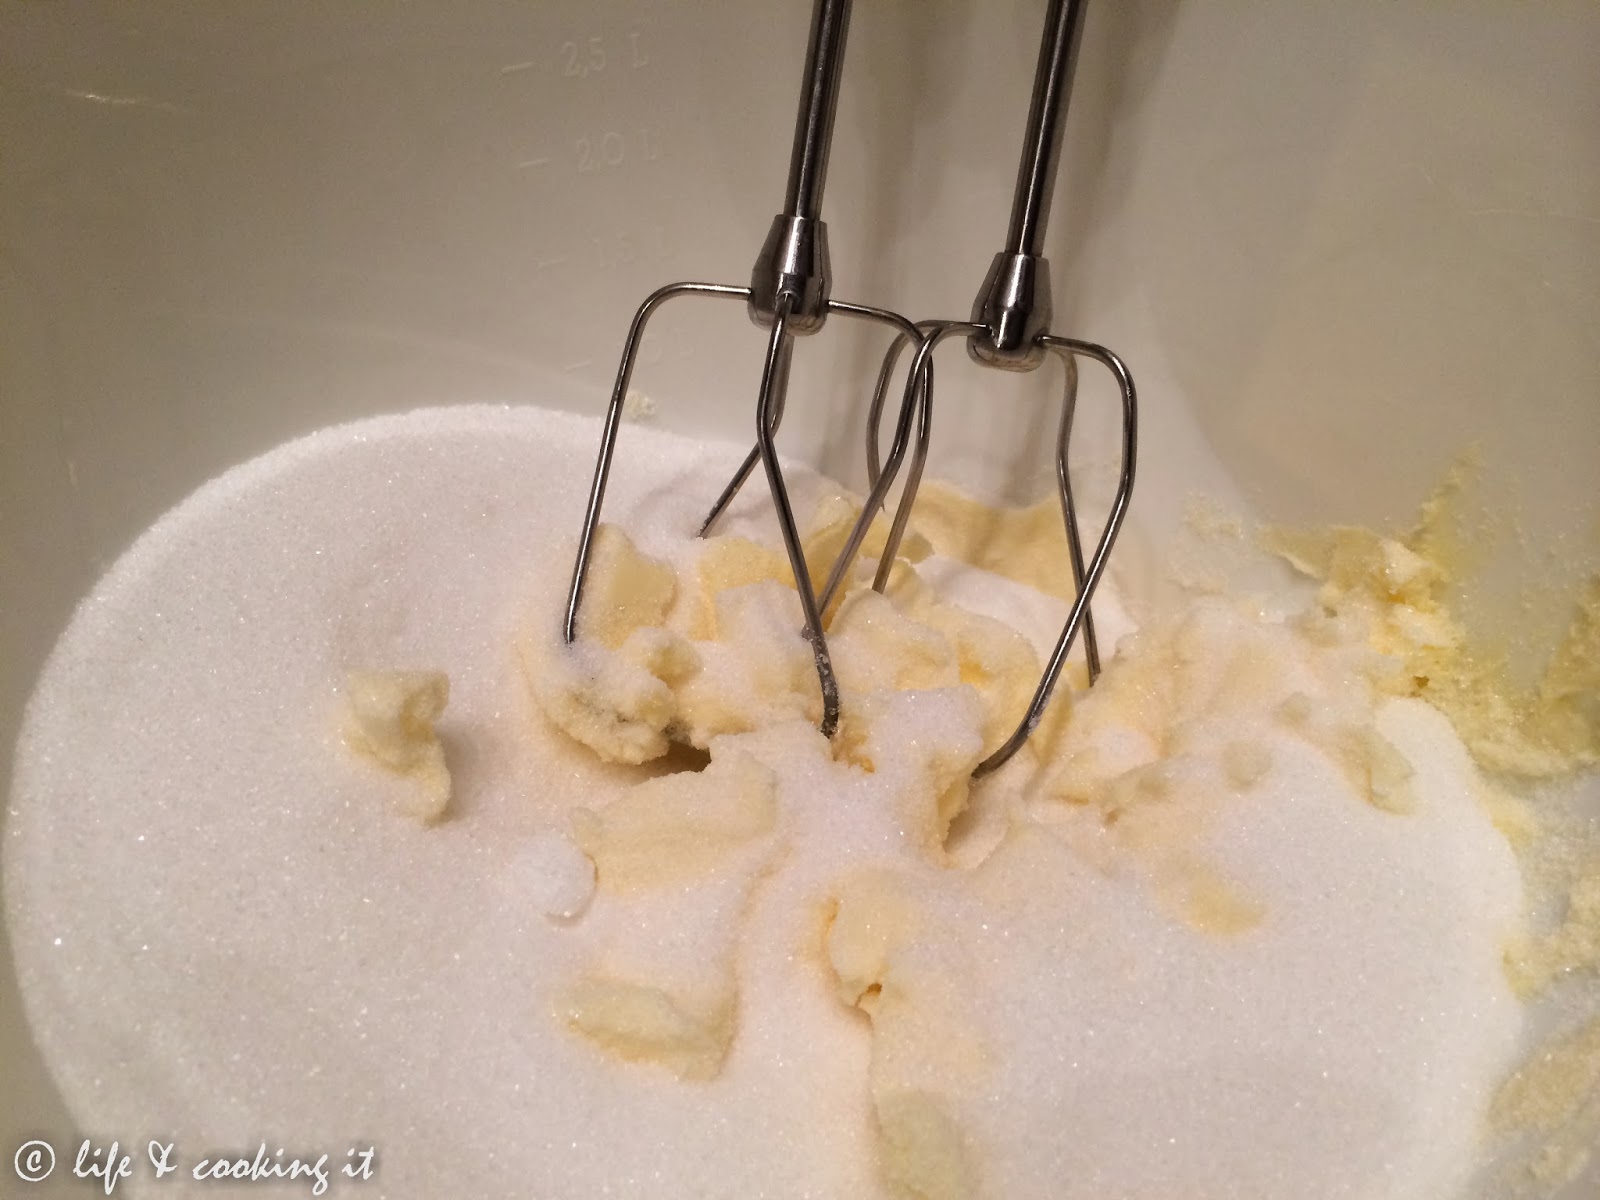
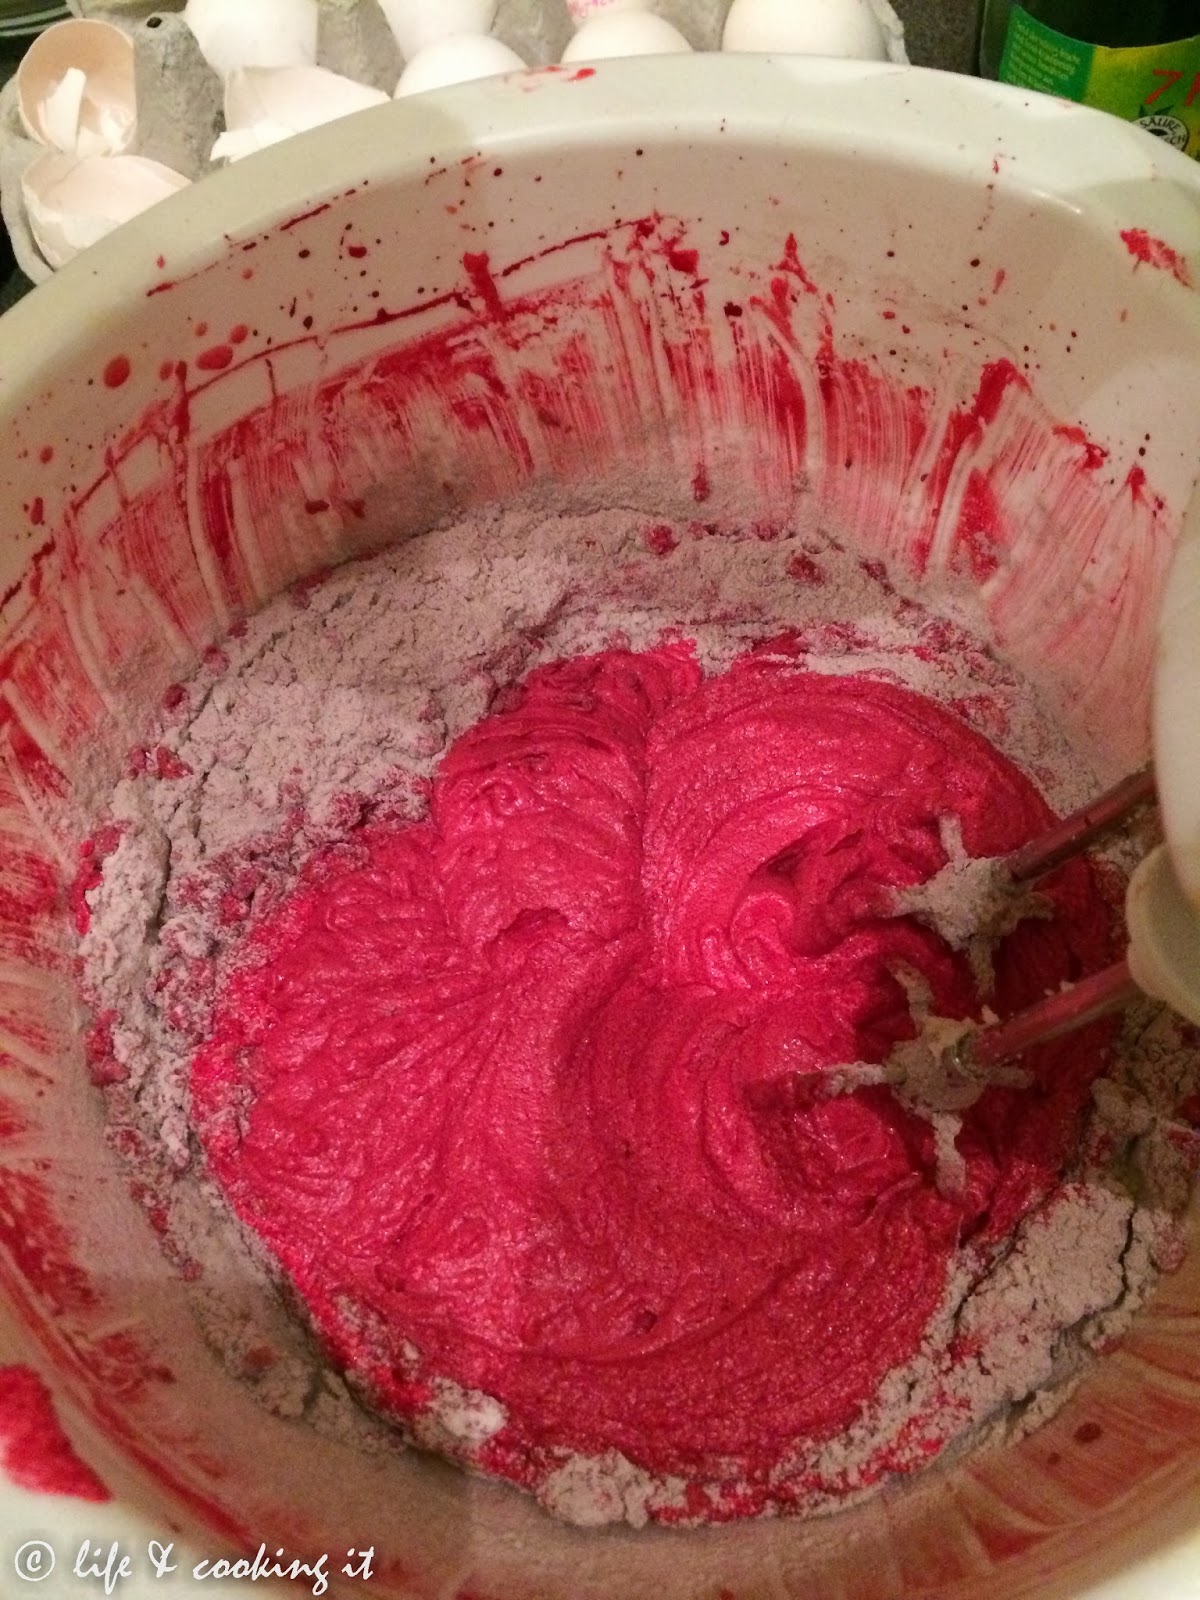
2) In a bowl of a stand mixer whisk butter and sugar, on medium speed, for 15 minutes until pale, light and fluffy. (yes I know 15 minutes is long but stay with me your patience will pay off)


3) Beat in eggs one at a time into butter-sugar mixture until yolk can no longer be seen before adding the next egg. Add vanilla, salt, food color (one, 40ml, bottle should be enough) and water until combined. Don't forget to scrape the sides down while beating.


4) Now on low speed add reserved dry ingredients alternating with buttermilk* starting and ending with dry ingredients.


5) In a small bowl, stir together baking soda and vinegar; add to batter. Beat on medium speed for 10 seconds. Be sure not to overbeat. Divide batter between prepared pans, and bake until a cake tester or toothpick inserted into the center comes out clean, 25 to 30 minutes. Remove pans from oven, and transfer to a wire rack to cool, about 15 minutes. Turn cakes out onto rack; let stand until completely cool.


6) At this point you can choose to sink you teeth into the cake or you cake continue being patient and frost it for an even better experience


Frosting:

The frosting is simple. It is a meringue frosting and is similar to this but only slightly modified. You will need:
1) 5 large egg whites
2) 1 1/4 cup sugar
3) 1/4 teaspoon cream of tartar*
4) 1 teaspoon vanilla extract


Directions:

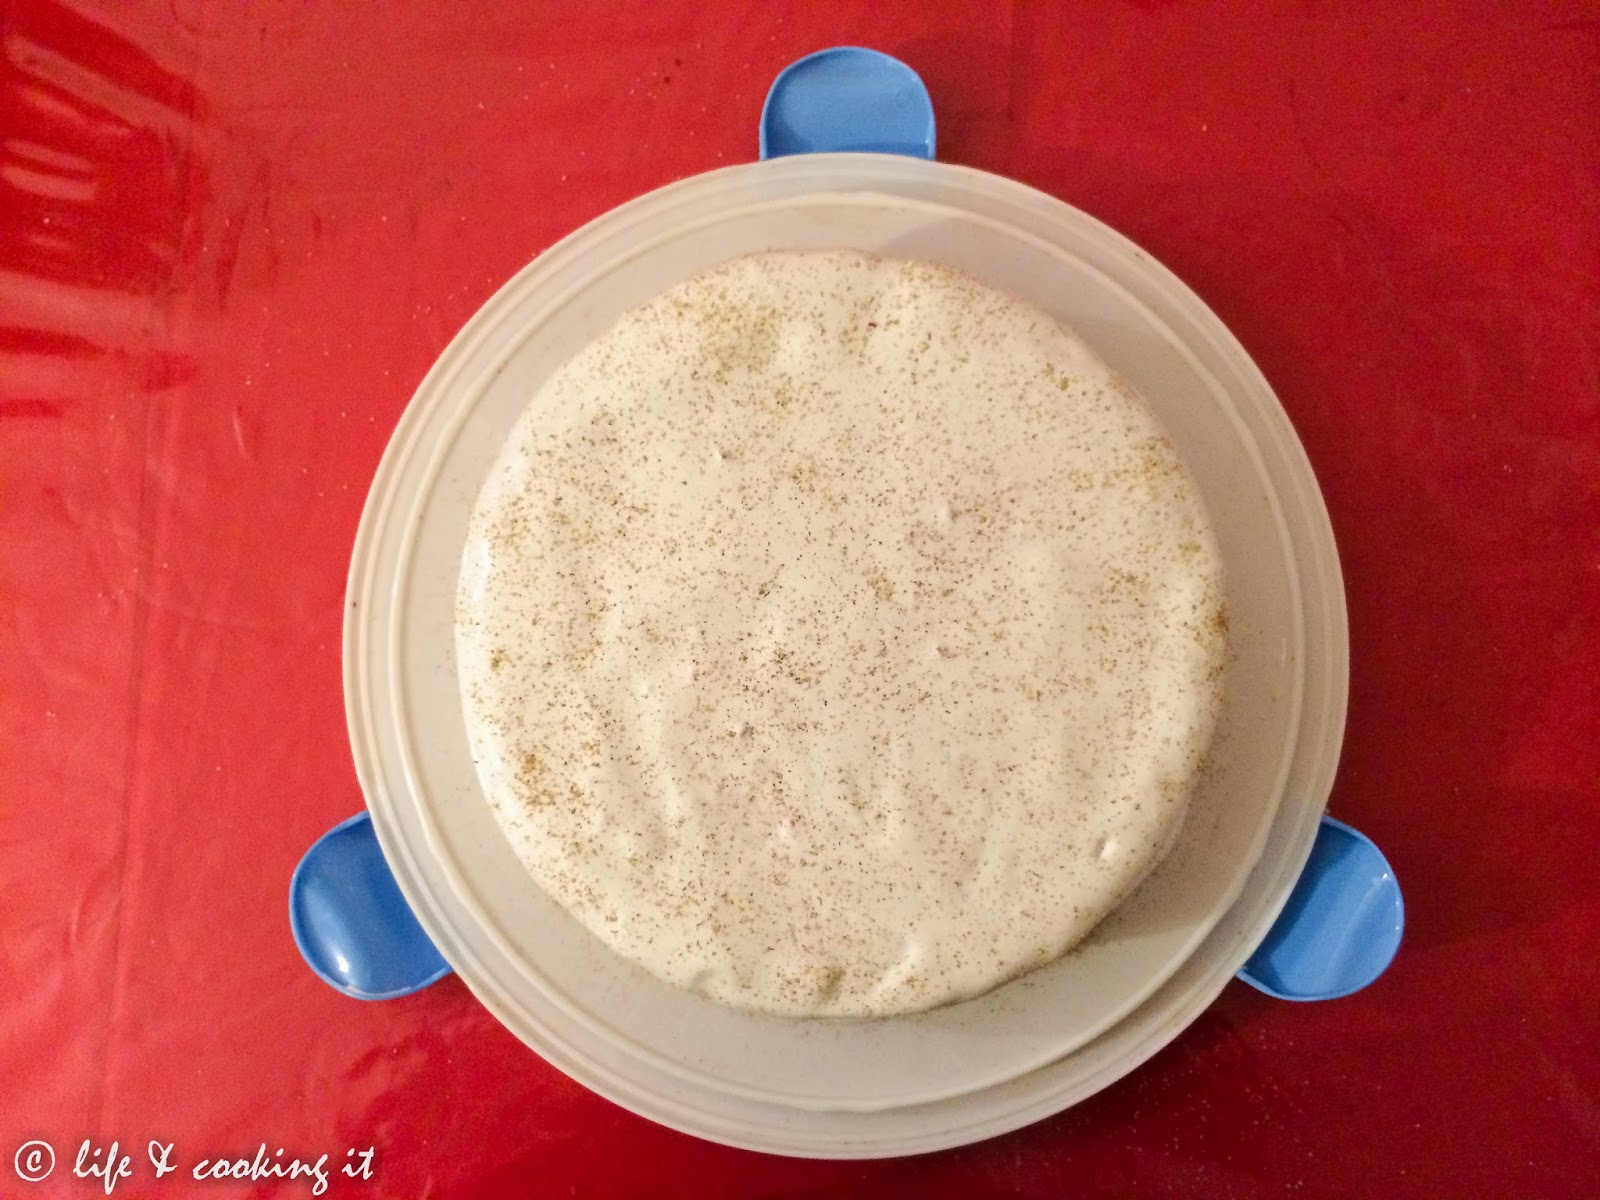
In the heatproof bowl of an electric mixer set over a saucepan of simmering (not boiling) water, combine egg whites, sugar and cream of tartar. Cook over medium heat, whisking frequently, until sugar is dissolved and mixture is foamy, about 5 minutes. Attach the bowl to a stand mixer fitted with the whisk attachment. Beat the mixture on high speed until glossy and voluminous, about 10 minutes. Beat in the vanilla.


Trim the top of the cake to level it using a serrated knife Place a layer on a cake stand or cardboard round, and spread about 1/3 of the frosting over top. Place the second layer on top, and spread with the remaining frosting over the tops and sides of assembled cake. You could split each cake in half so you have four layers. You will need make a bit more of the meringue for the four layers. I prefer the four layers, it's easier to consume and looks better. Lastly you can garnish as you please, the best garnish is chocolate and chocolate shavings was much simpler ;). Transfer to refrigerator, and chill until ready to serve.


Don't you just love it :D! Enjoy and have a blissful velvety day!

Adapted from Martha Stewart

Chocolate ganache cupcakes by Ina Garten

Hello lovelies! Been a while I know! We at Life and Cooking It are really trying to improve on the frequency of our posts...still work in progress though! Forgive us! So recently, I was able to go home and spend some time with my family, which was awesome! And while I was there I came across this awesome chocolate ganache cake recipe  by Ina Garten.
By the way I hardly watch TV...and really the only time I get to sit behind a TV, hold the remote and watch whatever, is when I go home to visit family...and that is not so often, unfortunately. So when I do eventually get the chance, I'm almost always tuned in to The Food Network 24/7...Lol.
And this was how I came across this awesome recipe by one of my favourite chefs, Ina Garten, also known as the Barefoot Contessa. This cake is soooooooo chocolatey, it's unbelievable!

You will need (makes 12 cupcakes)

  • 1/2 cup unsalted butter (softened)
  • 1 cup white sugar
  • 4 eggs
  • 2 cups Hershey's chocolate syrup 
  • 1 cup flour
  • 1 tsp vanilla extract
  • 1 tsp instant coffee (this is optional, but it really does help bring out the chocolate flavour) 
For the ganache
  • 1/2 cup heavy cream
  • 1 cup semi-sweet chocolate chips
Directions
  • Preheat oven to 160 degrees Celsius (gas mark 3)
  • Line cupcake pan with paper liners
  • Cream butter and sugar till light and fluffy, then add eggs, one at a time, mixing through continually.
  • Add chocolate syrup, vanilla extract, and mix in
  • Next, add flour and coffee and mix until just combined. Do not overbeat, as this would make the cakes tough.
  • Scoop the mixture into the lined cupcake pan, and put in the oven to bake for about 30 minutes (a skewer put in should come out clean when cake is baked). Don't overbake!
  • Allow to cool thoroughly.

  • For the ganache, what I did (which was slightly different from what I saw on TV), was to heat the cream in a saucepan on very low heat so it did not boil over...then I added the chocolate chips and kept on stirring occasionally till smooth.
  • Otherwise you could do this in a heat resistant bowl over simmering water - mix cream and chocolate chips till you get a smooth chocolate mixture.
  • Now dip your cupcakes (just the tops, of course) in the warm ganache and you're done! Do not refrigerate. Cakes can be kept at room temperature.

Enjoy your cakes...really are the yummiest! Decadently chocolatey!!!

my life and cooking it...

Hey guys! Been a minute huh? So sorry there haven't been any recent posts from us...no excuses! So how's everyone doing? Currently doing my trauma/orthopaedics rotation and it's been a wee bit stressful, but still hanging in there!
So last month I had a well-deserved vacation and was lucky to have attended a cooking class organized by Home Cooking New York. It was so much fun and I think anyone who has the chance should definitely attend! The instructing chef was so nice, and everyone had so much fun cooking, and eating, of course. I took so many pictures someone asked if i was covering for a magazine! lol
So this post is dedicated to that...just a few pictures
(just so you can feast your eyes! lol) Hope you enjoy!


Hungry eh??? lol...till next time! 


Granny's Banana Cake

Looong time, but your exotic guest blogger isn't lost! Today I'm back with an awesome Banana Cake! My best friend's wedding will be coming up in August and she asked me to do this banana cake from my grandma for her. I was like... ahhhh.... oh okay! My granny always said this cake was difficult to do, so I never tried doing it. She was always the one who baked it.
I knew I had to do this cake at least 2 times before the wedding. This weekend, I was off work and decided to try. I was kinda nervous ... I don't know why.  But...
.... lets see! :D

So what do we need???

For the batter:

  • 4 eggs
  • 180g powdered sugar
  • 1 pack vanilla sugar (about 2 teaspoons)
  • 150g flour (about 1 cup plus 3 tablespoons)
  • 1 teaspoon baking powder/soda
  • 4 tablespoons lukewarm water


Topping:

  • 5-7 bananas
  • 1 pack Vanilla pudding to cook
  • 12 sheets gelatine or about 60g of powdered gelatine
  • 1 litre whipped cream
  • 200g baking chocolate


Also, you will need a cake ring to put around the cake for the cream. If you don't have one you can also use the ring which is around the cake pan.

Now let's start with the batter...

1. Separate the yolks from the egg whites. Add the vanilla sugar, powdered sugar, flour, baking soda and the lukewarm water to the yolks and mix until it is a smooth mixture.

2. Beat the egg whites until fluffy. You can add a dash of salt to it, it helps to let it rise nicely.

3. Next, fold in the whisked egg whites into the batter mixture. But be careful here! DO NOT USE A MIXER, it will ruin the texture and the batter won't be nice and fluffy. Also, don't mix it too much, or too fast. Only so much that the batter is nicely mixed.


 Can you see the "fluffiness" :D


The cake pan should be 28cm/11 inches. It could also be slightly bigger. A smaller one will make the cake too high though.

4. Fill the cake pan and place inside the oven for about 15-20 min at 180 C / 350 F. Check on the cake at 15 minutes.

Consider your own oven... :) For me I had to turn the pan around because our oven does not heat evenly. The cake is ready when it is golden-brown or a toothpick comes out clean after inserting it in the middle of the cake!


5. Now you have to let the cake cool down first before you can continue.... in the meantime you can whip the whipping cream and put it in the fridge.

Guess you know the trick to check if the whipping cream is ready. But for those of us who just discovered their baking and cooking passion...I will tell you the secret. Whip it and test with a knife. When you slice through the cream and it remains stable, then it's fine. A second trick which I prefer is to whip the cream for  as long as you think is enough, and then put the bowl upside-down. If the cream stays inside you can be sure it is right. If it comes off you had bad luck and you need to start all over again :P. And please don't overdo it! If you whip it for too long the cream will curdle, which is not nice and you will still have to start all over again :(


6. After the batter is cool, peel the bananas and cut into two longitudinally. Place them on top of the cake so that it is completely covered and then put the cake ring around it.

7. After that, you start with the Vanilla pudding...but you have to be quick, otherwise the bananas will brown.


8. Cook the vanilla pudding. I simply used a instant pudding pack. Yeah... i can hear you groan - shame on me! :D Unfortunately I don't have a good pudding recipe yet. I've tried some before, but none of them was awesome. So, sorry guys.... But however you do your pudding it should be 0,5 litre.

9. When you finish cooking it, it has to cool down. But you can't just put it inside the fridge though, you have to stir it until it is cold! Its helpful if you put your bowl with the pudding inside a bigger one with cold water to speed it up. Don't forget to stir!

As for the gelatine it depends on which gelatine you use. If you have sheets of gelatine you have to add it when you are cooking the pudding. For me, i used the powdered gelatine which you can add to cold things. I added it when the pudding was lukewarm.

10. When the pudding is cold, you add part of the whipped cream ( 600 ml) and mix it with the pudding...so it becomes Vanilla pudding cream. My looked like that...


11. When you finish mixingspread it on the cake. Make sure it has the same thickness everywhere.


Now you are almost done!

12. Take the baking chocolate and let it melt in a heat-resistant bowl over boiling water. When it's melted, take out and stir until almost cold.


I know I have a whole lot of pictures in this post but I couldn't resist to share with you these yummy pictures!


13. Add the rest of the whipped cream to the almost cold chocolate. Its a bit tricky to find the right temperature...because if it's too cold, the chocolate will get hard again, and if too warm the cream will melt.
But I'm sure you will make it!


I just love these two ingredients coming together!


14. Next, spread the chocolate mixture on top of the vanilla pudding cream.


   15. Put it inside the fridge for 1-2 hours.


When you remove it from the fridge you have to remove the cake ring carefully.
You can use a knife to loosen the cream from the ring. I didn't like the way the top of the cake looked like so I used a fork to make some wavy design. But it's up to you...

My cake was a bit too high because I used a small cake pan.

And this is how the cake turned out!!!


And now lets start enjoying this cake :D

Oh, and by the way, this cake tastes much better the next day when the flavour of the bananas has gone through the cake and the cream! *_* See you